Step 1 – Install OpenVPN
On Linux systems, there are multiple ways to install and use OpenVPN. This guide focuses on the widely-supported OpenVPN Open-Source CLI program ‘openvpn’, but any other OpenVPN installation or Network Manager that supports OpenVPN configurations will work.
If you have trouble following our guide, try finding an OpenVPN installation guide specific to your Linux distribution.
Install the OpenVPN Package
Use the appropriate Linux installation command to install the `openvpn` package. For instance:
- Ubuntu/Debian:
sudo apt-get install openvpn - Fedora:
sudo dnf install openvpn - CentOS/RHEL:
sudo yum install openvpn - Arch Linux:
sudo pacman -S openvpn
Step 2 – Download an Arresti VPN Connection Profile
After installing OpenVPN, you will need a connection profile specific to your ArrestiVPN
account. Follow these steps to download it:
- Open a web browser.
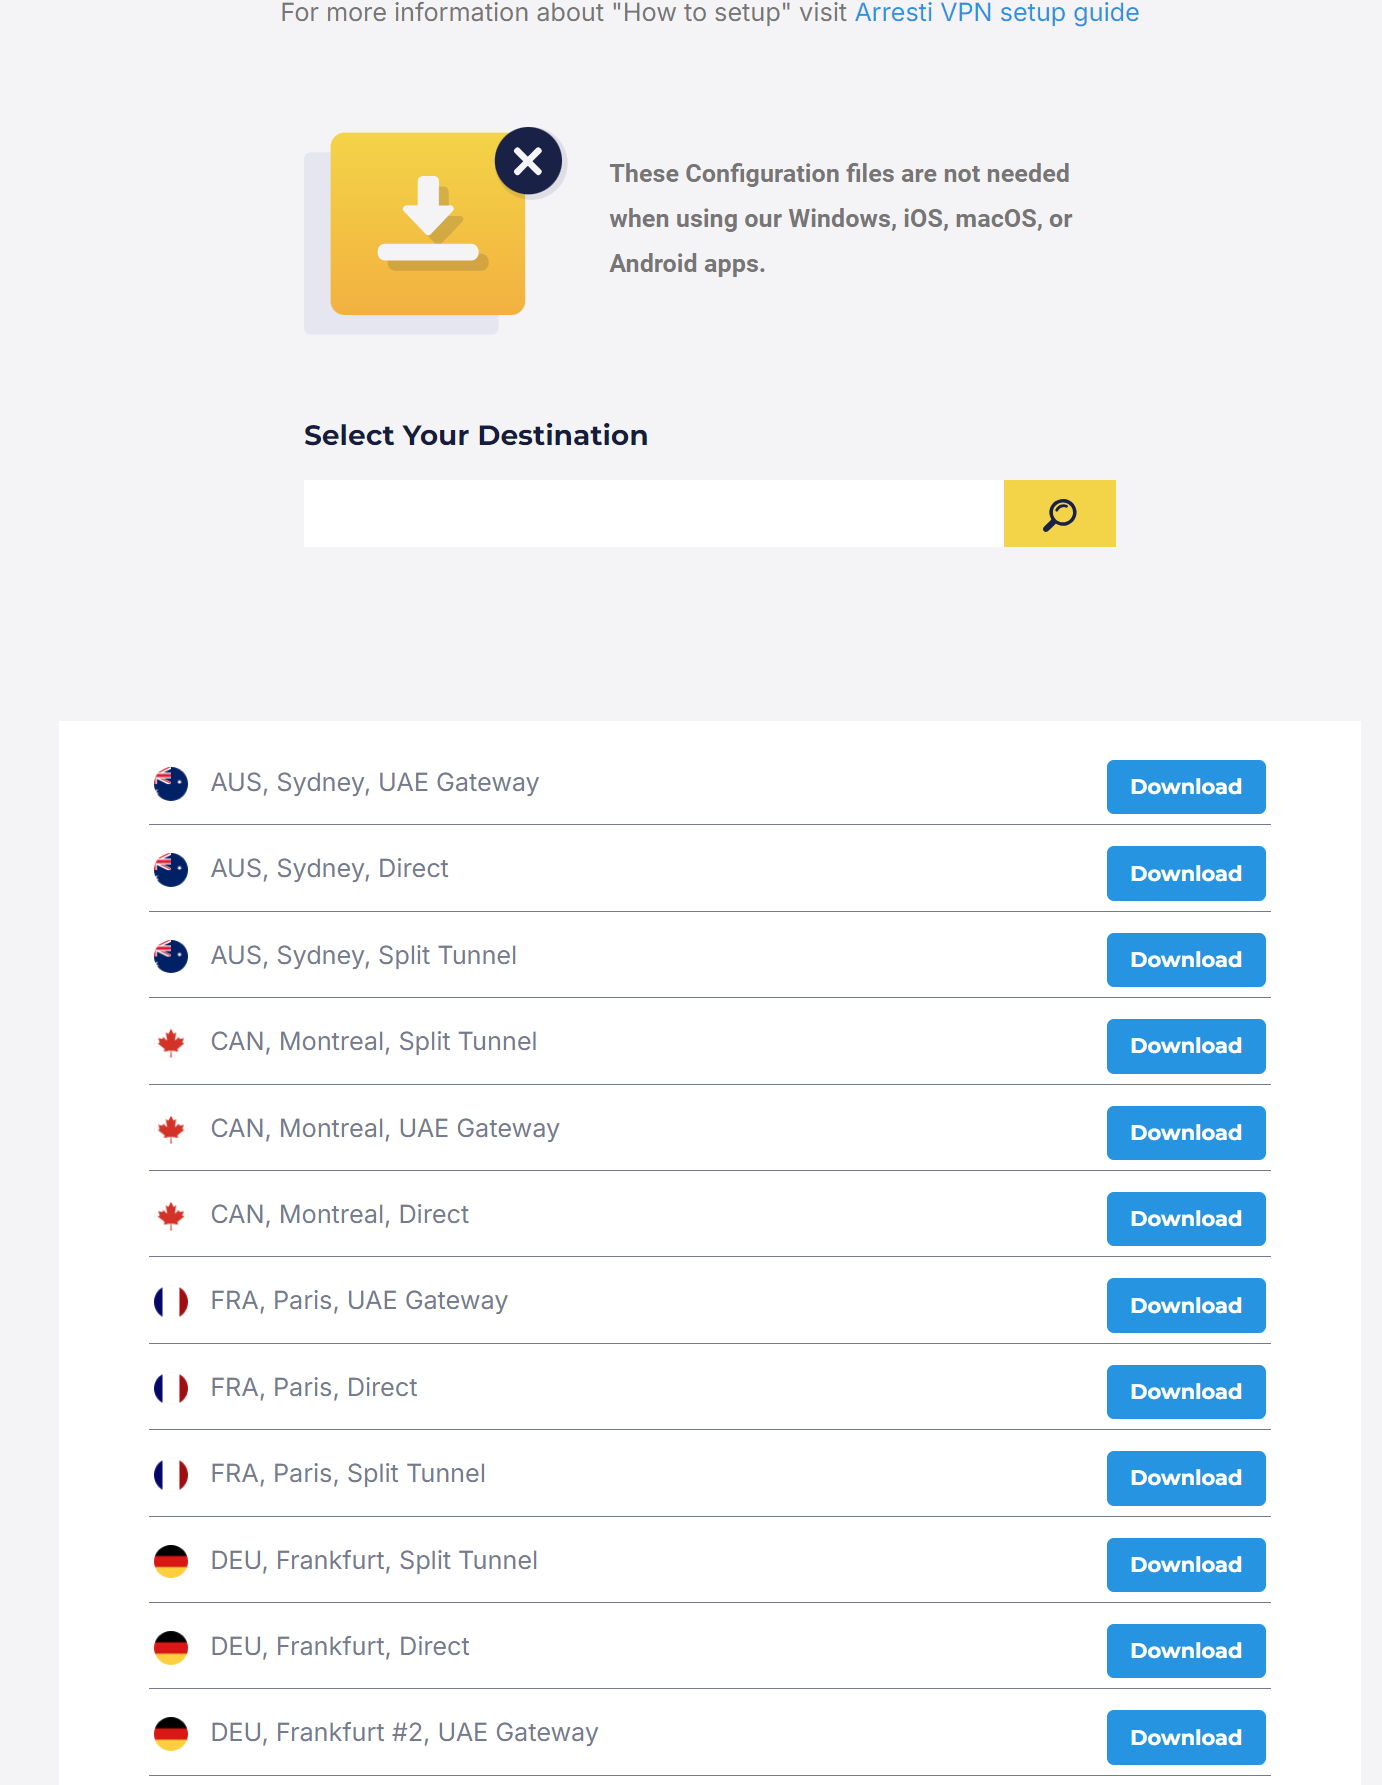
- Go to the Arresti VPN downloads page: https://portal.arresti.com/downloads.php.
- Log in with your user credentials.
- Scroll down to review the list of server locations.
- Save the resulting .ovpn file to your Linux system.

Step 3 – Manually Start the Connection
To start a connection profile manually, use the following command:
sudo openvpn --config /path/to/your/configuration/profile.ovpn
For example:
sudo openvpn --config /path/to/AUSSydneyDirect.ovpn
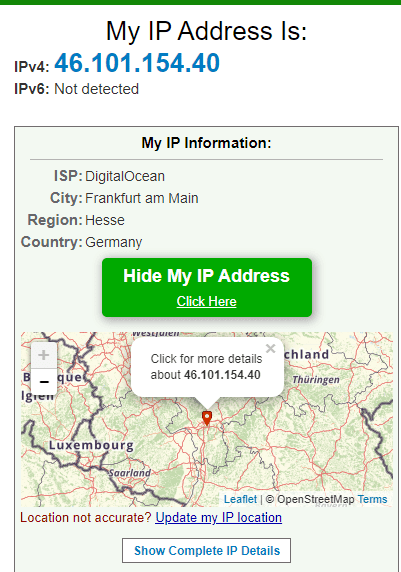
You can verify the status of your connection by using a third-party service like https://whatismyipaddress.com/ that show you where your computer is connecting from, and the IP address that appears to the websites and services you use.

Optional Advanced Options
Auto-Login Connection via the Service Daemon
To set up an auto-login connection:
- Place the
client.ovpnfile in the/etc/openvpn/directory. - Rename the file to end with
.conf. For example:
sudo mv /etc/openvpn/client.ovpn /etc/openvpn/client.conf
- Enable the OpenVPN service to run after a reboot:
Systemd (Ubuntu, Debian, Fedora, CentOS, RHEL):
sudo systemctl enable openvpn@client
sudo systemctl start openvpn@client
SysVinit (Older distributions):
sudo service openvpn start
sudo chkconfig openvpn on
- Reboot the system to apply changes:
sudo reboot
The auto-login profile will be picked up automatically, and the connection will start by itself. You can verify this by checking the output of the ifconfig command, where you should see a tun0 network adapter listed:
ifconfig
